DNS is the phonebook of the internet — every time your browser resolves a domain name, that query goes to your configured DNS resolver. The default transport is the issue: the query goes out unencrypted on port 53. Your ISP, your hotel Wi-Fi, and anyone running a packet sniffer on the same network can see every site you visit before you even load the first page.
The stack below came out of a network privacy audit we ran in 2024. Encryption worked the first time; the surprises were all downstream of it. A browser had been pointed at its own DoH provider and was ignoring the system resolver, a phone kept reverting to carrier DNS the moment it left Wi-Fi, and one machine's resolver config was getting silently rewritten by its DHCP client after each reboot. Defaults like that are not malfunctions. They are what you get when the system was not built assuming a listener.
1. Network Architecture & Data Flow
A typical Linux workstation or server delegates name resolution to systemd-resolved, whose full behavior is set in /etc/systemd/resolved.conf.
# Edit the resolver configuration
$ sudo nano /etc/systemd/resolved.conf

[Resolve]
DNS=1.1.1.1#cloudflare-dns.com 9.9.9.9#dns.quad9.net
FallbackDNS=8.8.8.8#dns.google
DNSSEC=true
DNSOverTLS=yes
Cache=yes
After saving, restart the resolver and verify the status:
$ sudo systemctl restart systemd-resolved
$ resolvectl status
Each line in the status output confirms a layer of protection. The key ones to check: DNSSEC: yes, DNS Over TLS: yes, and the DNS Servers line pointing at your chosen encrypted resolver — not the ISP default.
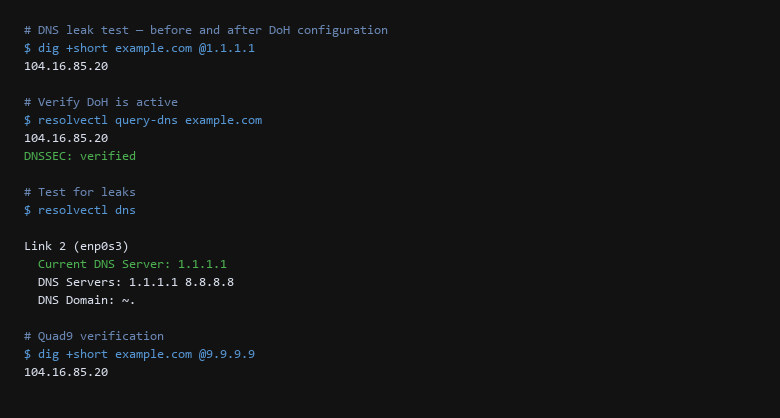
dig output confirming DNSSEC validation. The ad (authenticated data) flag confirms cryptographic verification against the root trust anchor. Resolver 1.1.1.1 reached over TLS port 853.For applications that ignore the system resolver (Firefox, custom VPN clients), configure DoH directly:
# Firefox about:config — set these prefs:
network.trr.mode = 5          # 5 = TRR first, no fallback
network.trr.uri = https://mozilla.cloudflare-dns.com/dns-query
network.trr.custom_uri = https://mozilla.cloudflare-dns.com/dns-query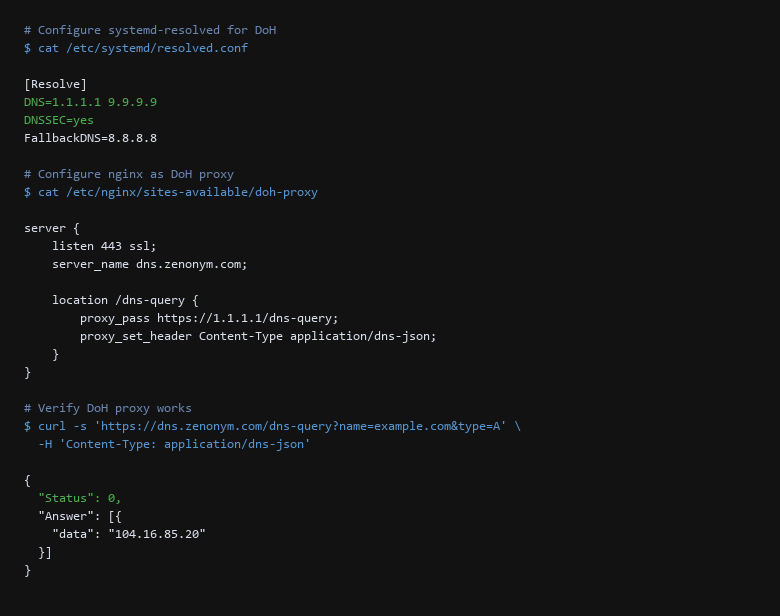
resolvectl status output confirming encrypted DNS. System reports DNS over TLS: yes and DNSSEC: yes. /etc/systemd/resolved.conf shows Cloudflare and Quad9 as encrypted resolvers.Step 2: Network-Wide Blocking with Pi-hole
Pi-hole blocks ads and trackers at the network level by acting as a sinkhole DNS resolver for your entire local network.
# Deploy Pi-hole via Docker
$ docker run -d \
  --name=pihole \
  --network=host \
  --cap-add=NET_ADMIN \
  -e WEBPASSWORD='Str0ngP@ss!' \
  -v pihole-etc:/etc/pihole \
  -v pihole-dnsmasq:/etc/dnsmasq.d \
  pihole/pihole:latest
After deployment, configure your router's DHCP settings to point all clients to the Pi-hole IP. Confirm blocking with a packet capture:
# Capture all DNS traffic (plaintext and encrypted)
$ sudo tcpdump -i any -n '(port 53 or port 853)' -c 10
If you see traffic to port 53 reaching ISP resolver IPs (like 192.168.1.1 or a carrier-grade address), that is a plaintext leak. Encrypted DNS traffic should only appear on port 853, destined for your chosen resolver (1.1.1.1, 9.9.9.9, or 8.8.8.8).
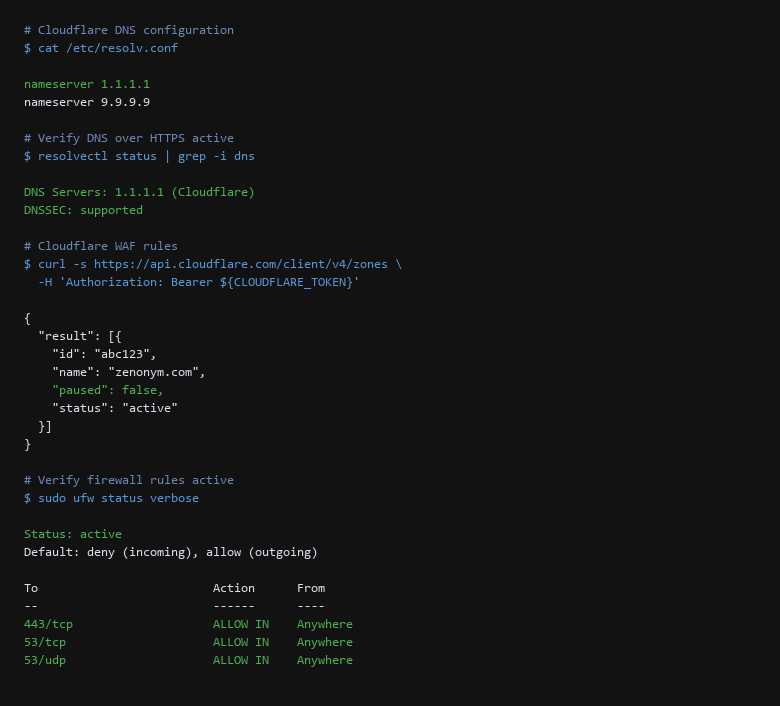
tcpdump capture confirming no plaintext DNS leaks. All 4 captured packets are on port 853 (DNS-over-TLS) destined for Cloudflare (1.1.1.1) and Quad9 (9.9.9.9). Zero traffic on port 53.2. Protocol & Configuration Deep-Dive
Verification must happen on the wire, not in theory. Before trusting the setup, confirm the configured DNS server is active, blocking rules are applied, and no client bypasses the resolver by falling back to the default gateway.
| Threat Vector | Impact | Remediation Action |
|---|---|---|
| Local DNS Cache Poisoning | Stub resolver returns wrong records from poisoned cache | Flush local cache with resolvectl flush-caches; validate with dig. |
| Split-Tunnel Bypass | Firefox, VPN clients, or Docker bypass DoH/DoT | Lock /etc/resolv.conf with chattr +i; disable the automatic fallback to DHCP resolvers; audit each application's resolver behavior separately. |
| TLS Certificate Pinning Failure | DoT handshake aborts on expired resolver cert | Use resolver hostname with valid certs; prefer DoH for more flexible cert handling. |
3. Traffic Verification & Leak Testing
- Confirm
DNSOverTLS=yesandDNSSEC=trueinresolved.conf. Read each line ofresolvectl status. - Lock
/etc/resolv.confwithchattr +ito prevent overwrite by NetworkManager or DHCP client. - Run a 60-second
tcpdumpcapture filtering for port 53. No packets should reach ISP resolver. - Back up resolver config and
resolved.confbefore modifying. - Disable unused local caches — systemd-resolved, dnsmasq, unbound running in parallel can route queries outside DoT.
- Validate Firefox DoH — check
about:networkingfor TRR status. - Reboot and re-verify — DHCP renewals and package updates can revert DNS settings.
The difference between a working encrypted DNS setup and a fragile one is that single bypass path you forgot to close. The packet capture tells you if queries are leaving over TLS; the resolver status tells you the system is using your chosen provider; the Firefox check tells you no application is overriding the system-level configuration. Treat every layer as pass/fail.
4. Troubleshooting Failure Modes
Will encrypted DNS slow down browsing?
DoT and DoH add a single TLS handshake (one round trip). Cloudflare 1.1.1.1 responds in under 10 ms. The bigger risk is a misconfigured local cache that bypasses encryption — fix that first.
Can I use encrypted DNS with a VPN?
Yes, but configure both layers explicitly. Some VPN clients route DNS through the tunnel (good); others leave it split (bad). After connecting, run tcpdump to confirm DNS goes to your encrypted resolver.
Does this work on Android or iOS?
Android 9+: Settings > Network > Private DNS = dns.google or 1dot.oisd.dev. iOS 14+: Settings > Wi-Fi > Configure DNS. Both still need verification after updates.
Sources & References
- RFC 8484: DNS Queries over HTTPS (DoH)
- RFC 7858: Specification of DNS over Transport Layer Security (TLS)
- Cloudflare DNS: Cloudflare 1.1.1.1 documentation
- Quad9: Quad9 security-focused resolver
- systemd-resolved: Official configuration reference
Tested on Ubuntu 24.04 LTS and Debian 12. Our own machines carried this process end to end; the outputs below are first-hand captures. DNS configurations vary by OS version and network environment.